In this segment, we are going to “Install & Configure RetroPie on Raspberry Pi All Models“
What is RetroPie?
RetroPie allows you to turn your Raspberry Pi or PC into a retro-gaming machine. It builds upon Raspbian, EmulationStation, RetroArch, and many other projects to enable you to play your favorite Arcade, home-console, and classic PC games with the minimum set-up. For power users, it also provides a large variety of configuration tools to customize the system as you want.

Software Required :
| Equipment Required | Optional | ||
| Raspberry Pi 4 | Case | ||
| SD Card | Raspberry Pi Keyboard | ||
| Ethernet Cable | Mouse | ||
| Power Adapter | |||
| GamePad | |||
| Shop now | |||
Downloading & Installing “RetroPie for RaspberryPi”
- First of all, we need to download the “RetroPie for RaspberryPi“ image to setup RetroPie.
Formatting the SD Card
- Now, We need an SD Card Formatter tool to format the SD card.
- Once, the card is plugged in, It will automatically detect by the computer then you need to click on format to format the Card.

Flashing the SD Card
- After the SD card formatted successfully then we use Etcher and flash the RetroPie image to SD card.

Insert the SD Card to Raspberry Pi
- Once the card successfully got flashed then plug it in the Raspberry Pi. It will directly take you to Welcome Screen.
- That will ask you to configure your Keyboard or GamePad if that is connected.
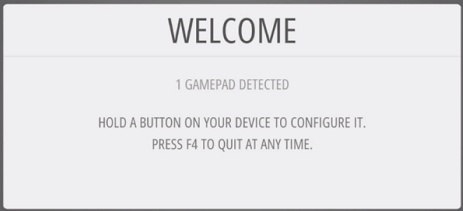
- Now, follow the on-screen guide to configure your Keyboard or your GamePad.
Setup WiFi Connection RetroPie
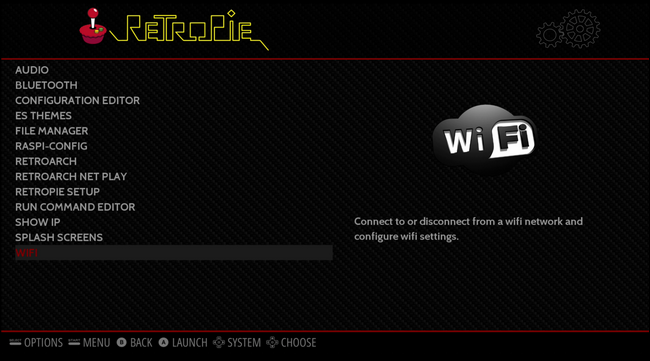
- Now, we need to press the A button from the controller to access the RetroPie menu.
Then we need to navigate to WiFi and hit A again to access the WiFi option.
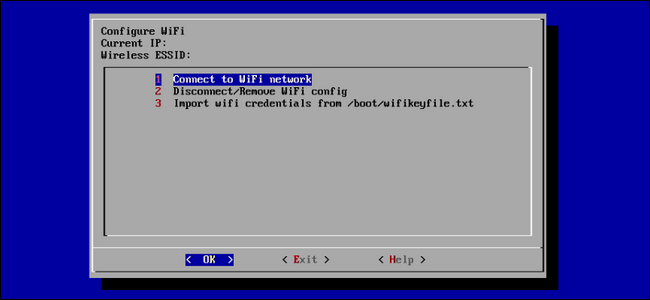
- After that, we can choose the network of our choice by selecting the option Connect to a WiFi network.
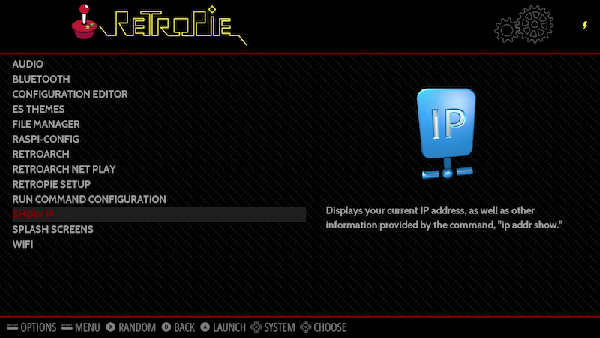
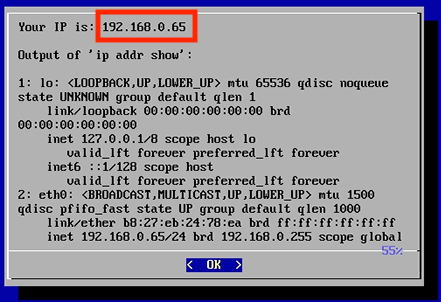
- Once it’s done you can navigate to Show IP option and press A to check the IP Address assign to RetroPie.
- Then make a note of the IP Address for future use.
Move Game Rom’s to RetroPie / Network
- Now, as we have the IP Address of our RetroPie we can use it to transfer ROMs to RetroPie.
- First of all, we need to open the RUN box on the Windows computer and type the IP Address as shown in the picture.
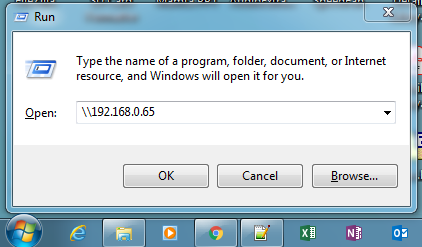
- Or, you can use \\retropie in the RUN box or in the Explorer Address Bar to access the Roms folder.
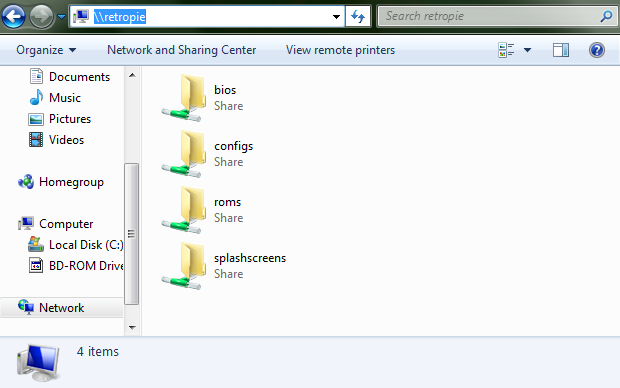
- After that, you will be able to see these folders, where ROMs folder is the important one.
- Then we need to open the ROMs folder and we will greet with all the popular ROMs folders.
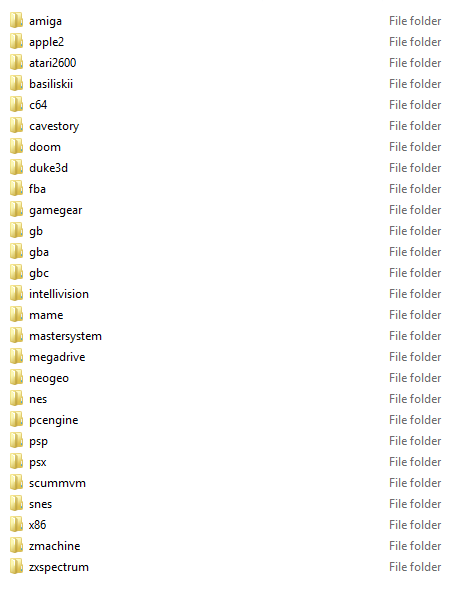
- Now, you are all set to move your ROMs from the computer to RetroPie through Network.
Move Game Rom’s to RetroPie / USB
In Conclusion
- Now, You are ready to use RetroPie on Raspberry Pi.
- Enjoy using RetroPie and share your thoughts. Smile (“_”)
Please check out my other articles:
- How to install Android Pie 9.0 on Raspberry Pi 4 Model B
- Nextcloud installation on Raspberry Pi for all models
Did you find us helpful?
| Subscribe our YouTube Channel | |
| Support us on Patreon | |
| Like us on Facebook | |
| Share This Article with others | |


Can this system be run on a Windows PC instead of a Raspberry Pi?
This system is developed for pi only.
Can you make a tut on RetroPIE install on Raspberrypi OS ?