In this segment, we are going to show you “How to play Media Streaming Services such as Netflix, Hulu, Disney Plus, and more on Raspberry Pi with Overclocking up to 2 GHz“
Full credit for this article goes to VPetkov.net
Software Required :
| Equipment Required | Optional | ||
| Raspberry Pi 4 | Case | ||
| SD Card | Raspberry Pi Keyboard | ||
| Ethernet Cable | Mouse | ||
| Power Adapter | |||
| External HDD | |||
| Shop now | |||
Note: Overclocking may damage your Raspberry Pi, for that reason you must have a good cooling system installed on your Raspberry Pi 4 Before overclocking.
Overclock at your own risk.
Raspbian Buster Setup on Raspberry Pi
- First of all, to start this project we need to download the Raspbian Buster Image from the download link.
Formatting the SD Card
- Secondly, we need the SD Card Formatter tool to format the SD card.

Flashing the SD Card
- Followed by writing the image to the SD Card using: Etcher

Setting up Raspberry Pi
- Finally, plug in the SD Card, connect the Ethernet Cable and Power Supply and turn it on to boot the Raspbian Buster Operating System. Follow the online instructions to complete the setup.
Overclocking Raspberry Pi 4
Maximum Overclock for Raspberry Pi 4: 2.147 GHz max clock speed GPU Frequency: 750 We are going to overclock are system from 700 MHz to 2000 MHz. Followed by changing the over voltage to 6 for maximum power.
- To start with overclocking you can watch vcgendcmd to see your new clock speed from Terminal
watch -n 1 vcgencmd measure_clock arm
- After that, we can go ahead and initiate a system update & dist-upgrade process to check for any available updates.
sudo apt update
sudo apt dist-upgrade
- Once the update & upgrade process finishes, we can go ahead and start overclocking our system by navigating to:
sudo nano /boot/config.txt
- Scroll down to the section marked:
#uncomment to overclock the arm. 700 MHz is the default.
#arm_freq=800
- Followed by adding these lines to the document. After that, save the file with CTRL+O (press RETURN) and use CTRL+X to exit Nano.
over_voltage=6
arm_freq=2000
gpu_freq=750
- Restart your Raspberry Pi.
sudo reboot
- When the system starts up again, watch vcgendcmd again to see your new, faster clock speed in action:
watch -n 1 vcgencmd measure_clock arm
Method -1
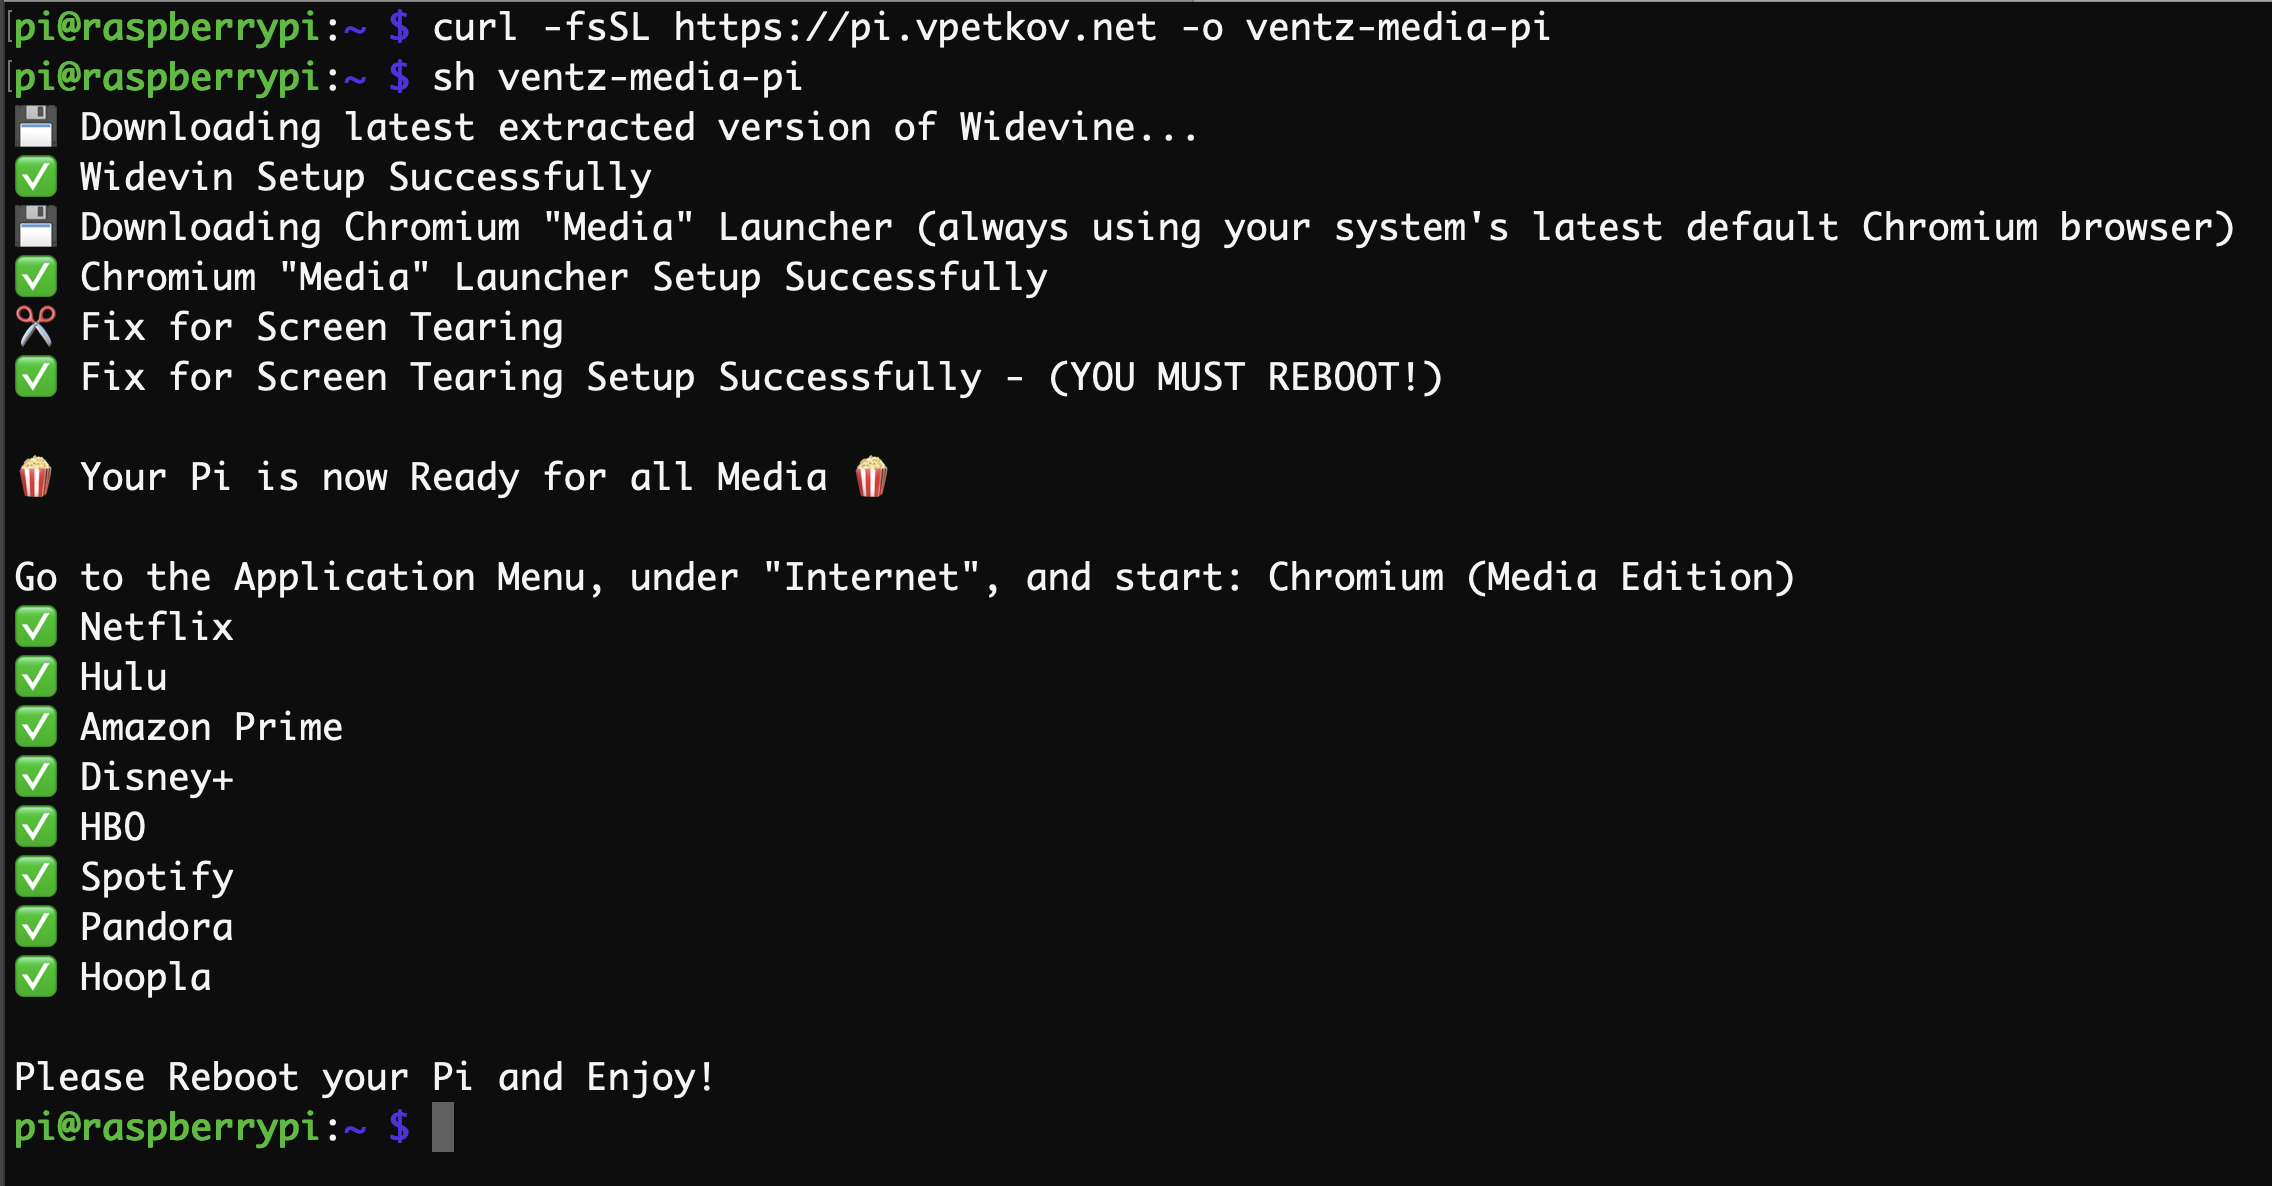
- SSH to your Pi (don’t run from the Pi console if you want pretty graphics :)) and run:
curl -fsSL https://pi.vpetkov.net -o ventz-media-pi
sh ventz-media-pi
- This script automates the whole thing, always provides you with the latest extracted libwidevine, and makes everything much easier to maintain/update in the future.
- Also, if there’s ever a problem/something changes from the Pi or Chromium side, you can just re-run the 1-line and fix everything.
Result

Method -2
Let’s start installing Media Streaming Plugin [ libwidevine]
Login to root
- Navigate to root using:
sudo su
cd
- Navigate to Chromium Browser folder
cd /usr/lib/chromium-browser
- Download and unzip libwidevine
wget http://blog.vpetkov.net/wp-content/uploads/2020/03/libwidevinecdm.so_.zip
unzip libwidevinecdm.so_.zip && chmod 755 libwidevinecdm.so
- Download and unzip Chromium Media Browser
wget http://blog.vpetkov.net/wp-content/uploads/2020/03/chromium-media-browser.desktop.zip
unzip chromium-media-browser.desktop.zip && mv chromium-media-browser.desktop /usr/share/applications
That’s it now we are ready to use all the Media Streaming Services on Raspberry Pi.
Followed by click on Pi icon from top Left Corner and click on Internet, Then open Chromium browser Media Edition and start Play Netflix, Hulu, Disney Plus, and more.
In conclusion
- You are all set to use Raspberry Pi 4 to run all your Media Streaming Services.
- If you face any issue regarding this article please share your thoughts.
- Enjoy using Netflix, Hulu, Disney Plus, and more on Raspberry Pi 4. Smile (.”_”.)
Please check out my other articles:
- How to install Android Pie 9.0 on Raspberry Pi 4 Model B
- Netflix on Raspberry Pi 3 Model B with Android OS
- Android TV on Raspberry Pi Model B
- Chromium OS on Raspberry Pi 4 Installation and Working
Did you find us helpful?
| Subscribe our YouTube Channel | |
| Support us on Patreon | |
| Like us on Facebook | |
| Share This Article with others | |


