In this segment, we are going to show you “How to install OpenMediaVault 5 NAS Server on Raspberry Pi 4” and check its working.
What is OpenMediaVault?
OpenMediaVault (OMV) is a free Linux distribution designed for network-attached storage (NAS). The project’s lead developer is Volker Theile, who instituted it in 2009. OMV is based on the Debian operating system and is licensed through the GNU General Public License v3. Source /> Wikipedia |  |
OpenMediaVault Versions :
OpenMediaVault 5 Installation Guide :
https://pcmac.biz/openmediavault-5-on-raspberry-pi/Software Required :
| Equipment Required | Optional | ||
| Raspberry Pi 4 | Case | ||
| SD Card | Raspberry Pi Keyboard | ||
| Ethernet Cable | Mouse | ||
| Power Adapter | |||
| External HDD | |||
| Shop now | |||
Access OpenMediaVault Web Interface :
- To access the OpenMediaVault Web Interface we need to use the same IP Address of our Raspberry Pi after 2-3 minutes.
OpenMediaVault Address = Your Raspberry Pi IP Address
- After that, we need to enter the Username & Password and login to our OpenMediaVault.
Default Username : admin
Default Password : openmediavault

OpenMediaVault Configuration :
- Firstly, you need to change Auto logout to Disabled.
- Secondly, change the Web Administrative Password to a strong password of your choice.
- Thirdly, navigate to System > Network and add an Ethernet interface.
- Under General Settings, we need to select our eth0 Ethernet Interface.
- After that under IPv4, we need to select DHCP and save the configuration.

- Finally, we need to navigate to services to SSH enable Permit root login
OpenMediaVault SSH Login :
- After that, open Putty uses the Raspberry Pi address to log in as root.
Default Username : pi
Default Password : use the password that you have changed.
- Further, It will prompt you to change the password on the first login.
OpenMediaVault Update & Upgrade :
- Further, we need to Update & Upgrade our Openmediavault Packages.
sudo su
apt-get update
apt-get upgrade
Connecting External Storage
- Firstly we need to connect the drive to our Raspberry Pi.
- Then navigate to storage and click on Disks.
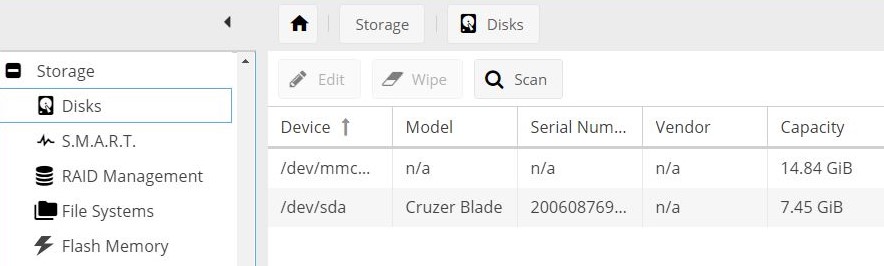
- After that, click on the wipe to format the storage into ext4 format.
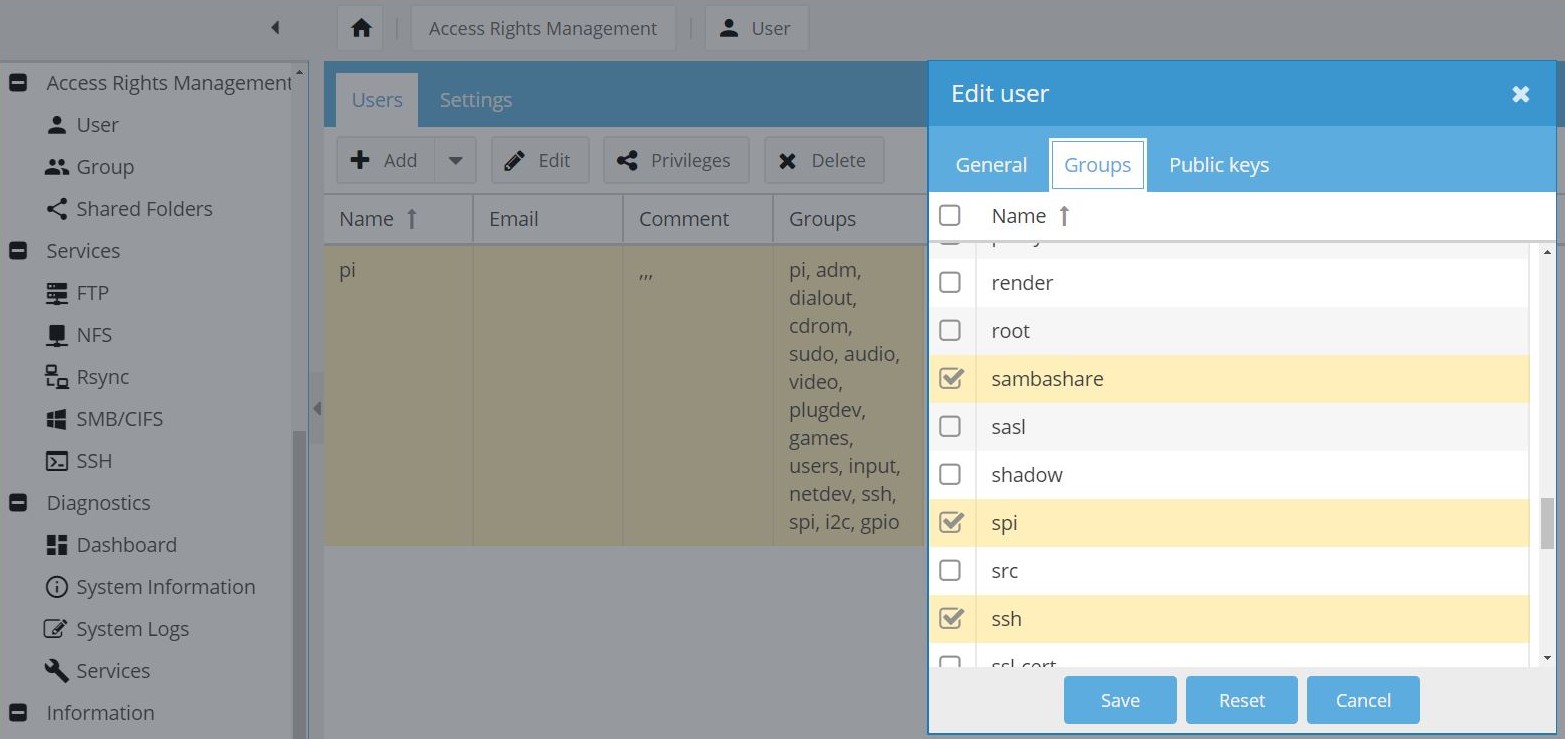
Creating New User and Grant Sambashare permission
- In this step, we need to navigate to Access Rights Management and click on users.
- From this box either we can create a new user or we can simply grant access of Sambashare to the current pi user.
 Access right Management Navigate to the shared folder
In conclusion
- You are ready to use OpenMediaVault 5 NAS Server on Raspberry Pi 4.
- Enjoy using OpenMediaVault 5 on Raspberry Pi 4.
- If you have any suggestions regarding this article please mention in the comment section down below. Smile (“_”).
Please check out my other articles:
Did you find us helpful?
| Subscribe our YouTube Channel | |
| Support us on Patreon | |
| Like us on Facebook | |
| Share This Article with others | |


[…] Servidor OpenMediaVault 5 NAS no Raspberry Pi 4 […]