In this segment, we are going to show you how to fix the “Manufacturing Mode Active” error on the Dell Machine issue.
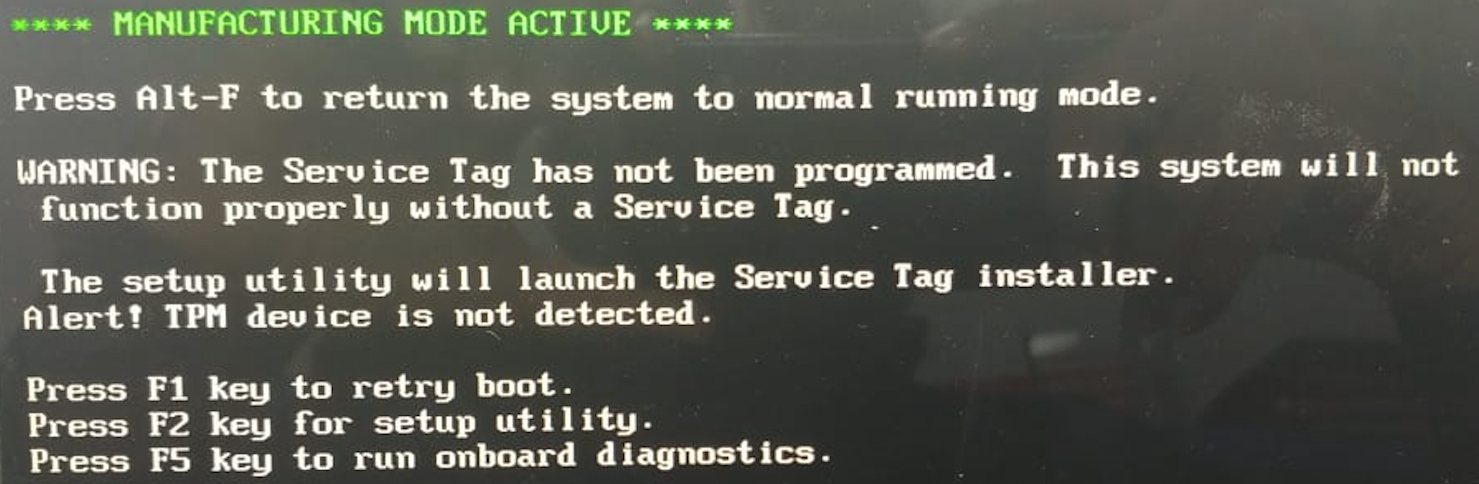
“Manufacturing Mode” typically refers to a state in which a Dell computer is set up during its manufacturing or testing phase. This mode is not intended for regular use. If you see this message on your computer, it may indicate that something went wrong during the manufacturing process, or that your computer is in a diagnostic or service state.
Recommended Articles
This problem occurs because the Service Tag is not programmed in the BIOS, or we can say that the BIOS is not able to update the service tag.
To resolve the issue of “Manufacturing Mode” being active on a Dell computer, we need to manually update the Service tag in BIOS. Kindly follow below steps:
If you still want to proceed, you can try the following steps:
Access the BIOS:
- Turn off your computer.
- Turn it back on and press the appropriate key to access the BIOS setup utility. This key is often F2 or Del but may vary depending on your Dell model. You’ll usually see a message on the screen during the boot process indicating which key to press.
Navigate to System Information:
- Once in the BIOS, navigate to the “System Information” or “Maintainance” a similar menu option. The exact name may vary depending on your BIOS version.
Change Service Tag:
- In the
- “System Information” or “Maintainance” menu, you should see an option to change the service tag. Select it.
Enter New Service Tag:
- Enter the new service tag and save your changes.
Exit and Save:
- Save your changes and exit the BIOS.
In conclusion
Please remember that changing the service tag is not recommended unless you have a legitimate reason, and it may void your warranty or cause other issues with Dell support and services. If you have a valid reason for needing to change the service tag, it’s best to contact Dell Support for guidance, as they may be able to assist you with the process while ensuring your warranty and support status remains intact.
Did you find us helpful?Please support us on Patreon, Follow us on Facebook |  |  |  |  |
