Identity is the new perimeter in modern enterprise security, making robust access control more critical than ever. Traditional network boundaries have dissolved with the rise of remote work and cloud applications, leaving passwords alone completely insufficient against sophisticated cyber threats. To properly secure your organization, you need an intelligent security layer that adapts to real-time risk. This is where learning how to set up Conditional Access Policies in Microsoft Azure AD (now part of Microsoft Entra ID) becomes an essential skill for every IT administrator.
Understanding Azure AD Conditional Access
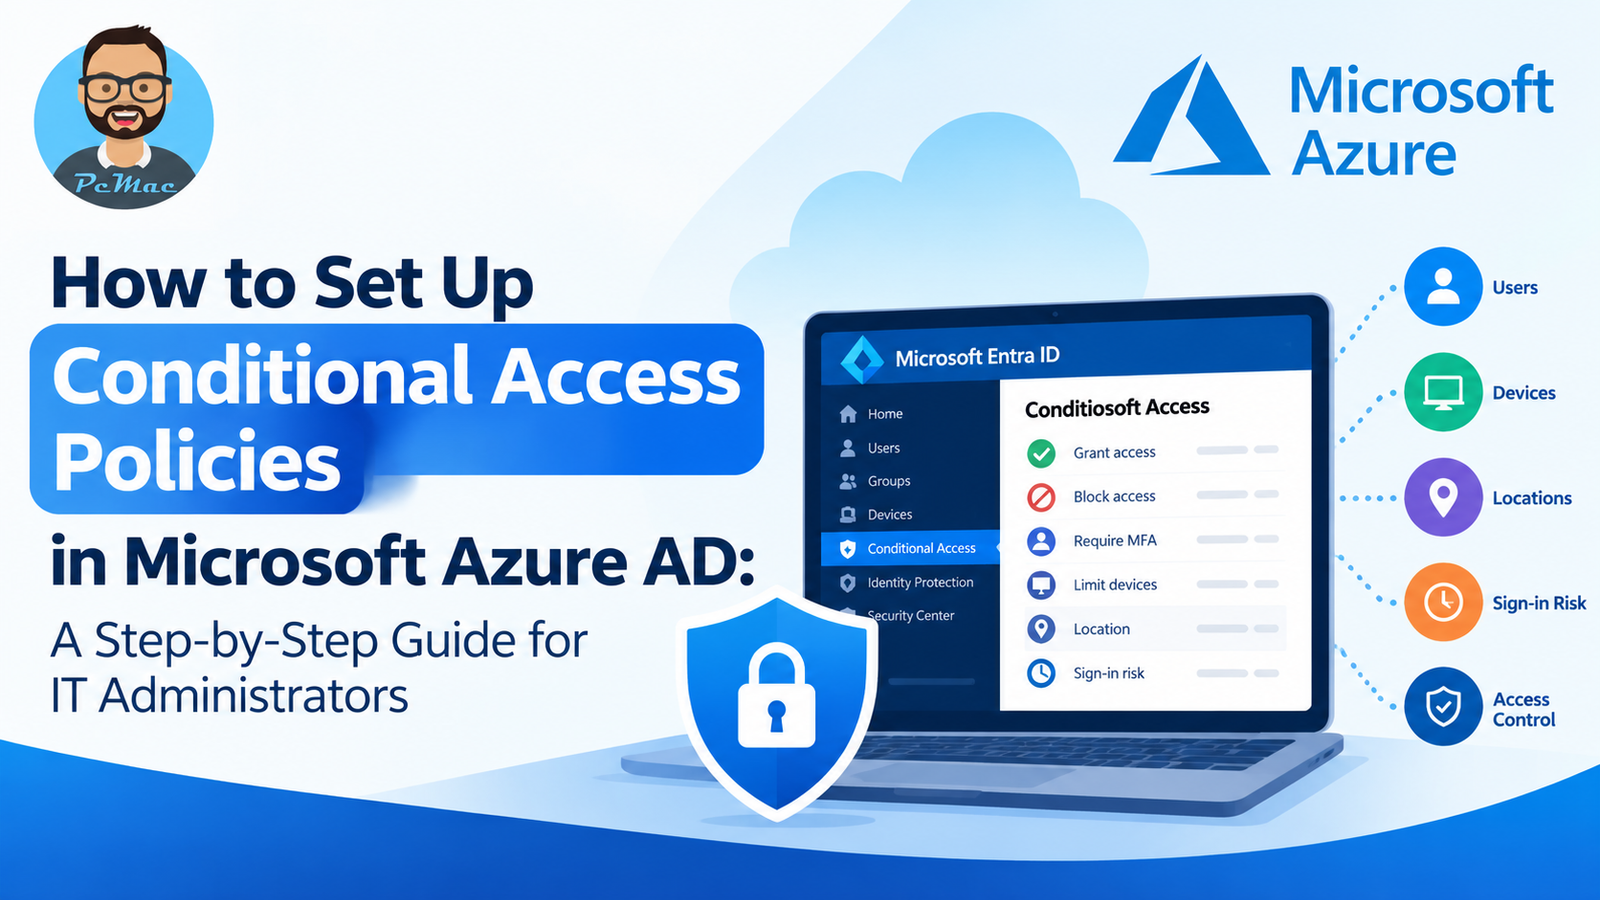
Conditional Access is essentially an automated decision engine built into Microsoft cloud identity management. It brings signals together to make enforcement decisions and organizational security policy enforcement. Think of it as a smart security guard at the door of your corporate applications, checking not just who is trying to enter, but how they are trying to get in and what device they are using.
Before you dive into the configuration steps, it helps to understand the fundamental architecture of these policies:
- Signals: The inputs that trigger a policy, including user or group membership, IP location information, device state, application sensitivity, and real-time risk detection.
- Decisions: What the system decides to do based on those signals.
- Enforcement: The final action taken, which usually means allowing access, blocking access, or requiring specific controls like Multi-Factor Authentication (MFA) or compliant devices.
Prerequisites and Planning Your Policies
Before implementing your first policy in the Azure portal, you need to ensure your environment meets the licensing and permission requirements. Conditional Access policies require an Azure AD Premium P1 or P2 license (or Microsoft Entra ID P1/P2) for all users targeted by the rules.
Administrators configuring these rules must hold a role with appropriate permissions, such as the Conditional Access Administrator or Security Administrator role. Furthermore, always plan your policies carefully in report-only mode first to avoid accidentally locking legitimate users out of critical business applications.
Step-by-Step Guide: Creating Your First Conditional Access Policy
Follow this detailed walkthrough to create a foundational policy that requires Multi-Factor Authentication for all users accessing cloud apps from outside trusted network locations.
Step 1: Navigate to the Conditional Access Dashboard
- Log in to the Microsoft Azure portal or the Microsoft Entra admin center as a Conditional Access Administrator.
- In the left-hand navigation menu, search for and select Microsoft Entra ID (formerly Azure AD).
- Scroll down to the Protect section and click on Security.
- Click on Conditional Access, then select Policies from the menu.
- Click the + New policy button at the top of the screen to open the policy creation blade.
Step 2: Name and Assign Your Policy
- Enter a descriptive name for your policy in the Name field, such as “Require MFA for External Access.”
- Under the Assignments section, click on Users or workload identities.
- In the Include tab, select All users (or choose specific pilot groups if you are testing).
- Navigate to the Exclude tab and add your emergency access or break-glass accounts to prevent permanent lockout. Always exclude at least one global administrator account.
Step 3: Define Target Cloud Apps or Actions
- Click on Target resources (formerly Cloud apps or actions).
- Under Select what this policy applies to, ensure Cloud apps is selected.
- Under Include, choose All cloud apps to secure your entire tenant, or select Select apps if you only want to protect specific services like Microsoft 365 or Salesforce.
Step 4: Configure Conditions
- Click on Conditions to define the specific triggers for this policy.
- Click on Locations, toggle Configure to Yes.
- Under Include, select Any location.
- Under Exclude, select Selected locations and check your organization’s trusted corporate IP address ranges or named locations. This ensures internal network users are not unnecessarily prompted.
- Review other optional conditions like device platforms, client apps, or sign-in risk if applicable, then click Done.
Step 5: Set Access Controls
- Under the Access controls section, click on Grant.
- Select Grant access.
- Check the box for Require multi-factor authentication.
- If you have multiple requirements, you can choose whether to require all selected controls or one of the selected controls. Click Select.
Step 6: Enable and Save the Policy
- At the bottom of the policy page, look for the Enable policy toggle.
- Change the setting from Off to Report-only initially. This allows you to monitor how the policy would behave without enforcing blocks or prompts.
- Once you have verified the policy behavior in the sign-in logs, return to the policy and change the setting to On.
- Click Create to save and activate your new Conditional Access policy.
Best Practices for Managing Conditional Access
Deploying identity security policies is not a set-it-and-forget-it task. To maintain a strong security posture while keeping helpdesk tickets to a minimum, keep these best practices in mind:
- Always use Report-Only mode: Never deploy a strict blocking policy directly into production without testing it in report-only mode first. Review the Azure sign-in logs to see how the policy impacts user workflows.
- Maintain break-glass accounts: Create at least two cloud-only administrator accounts with strong, randomly generated passwords and exclude them from all Conditional Access policies. Store their credentials securely.
- Keep policies granular: Avoid creating monolithic policies that apply to everything. Break them down by risk level, department, device compliance, and application sensitivity.
- Regularly review policies: Audit your active policies quarterly to remove retired applications, deprecated security groups, and outdated location ranges.
Conclusion
Mastering how to set up Conditional Access Policies in Microsoft Azure AD is a transformative step for any IT administrator looking to elevate organizational cybersecurity. By moving beyond static passwords and leveraging dynamic, context-aware rules, you can successfully balance stringent security requirements with a seamless user experience. Start small with a pilot group, utilize report-only monitoring, and steadily scale your policies across your entire enterprise cloud ecosystem.