If you manage a custom domain for your business email, setting up proper email authentication is no longer optional. Cybercriminals frequently spoof legitimate domains to launch phishing attacks, and without standard security records, major email providers like Gmail and Yahoo are likely to flag your messages as spam. To protect your brand reputation and ensure high email deliverability, you need to configure SPF, DKIM, and DMARC in Microsoft 365. While navigating DNS records can feel intimidating, this step-by-step guide will walk you through the entire process to secure your domain.
Understanding the Email Authentication Trio
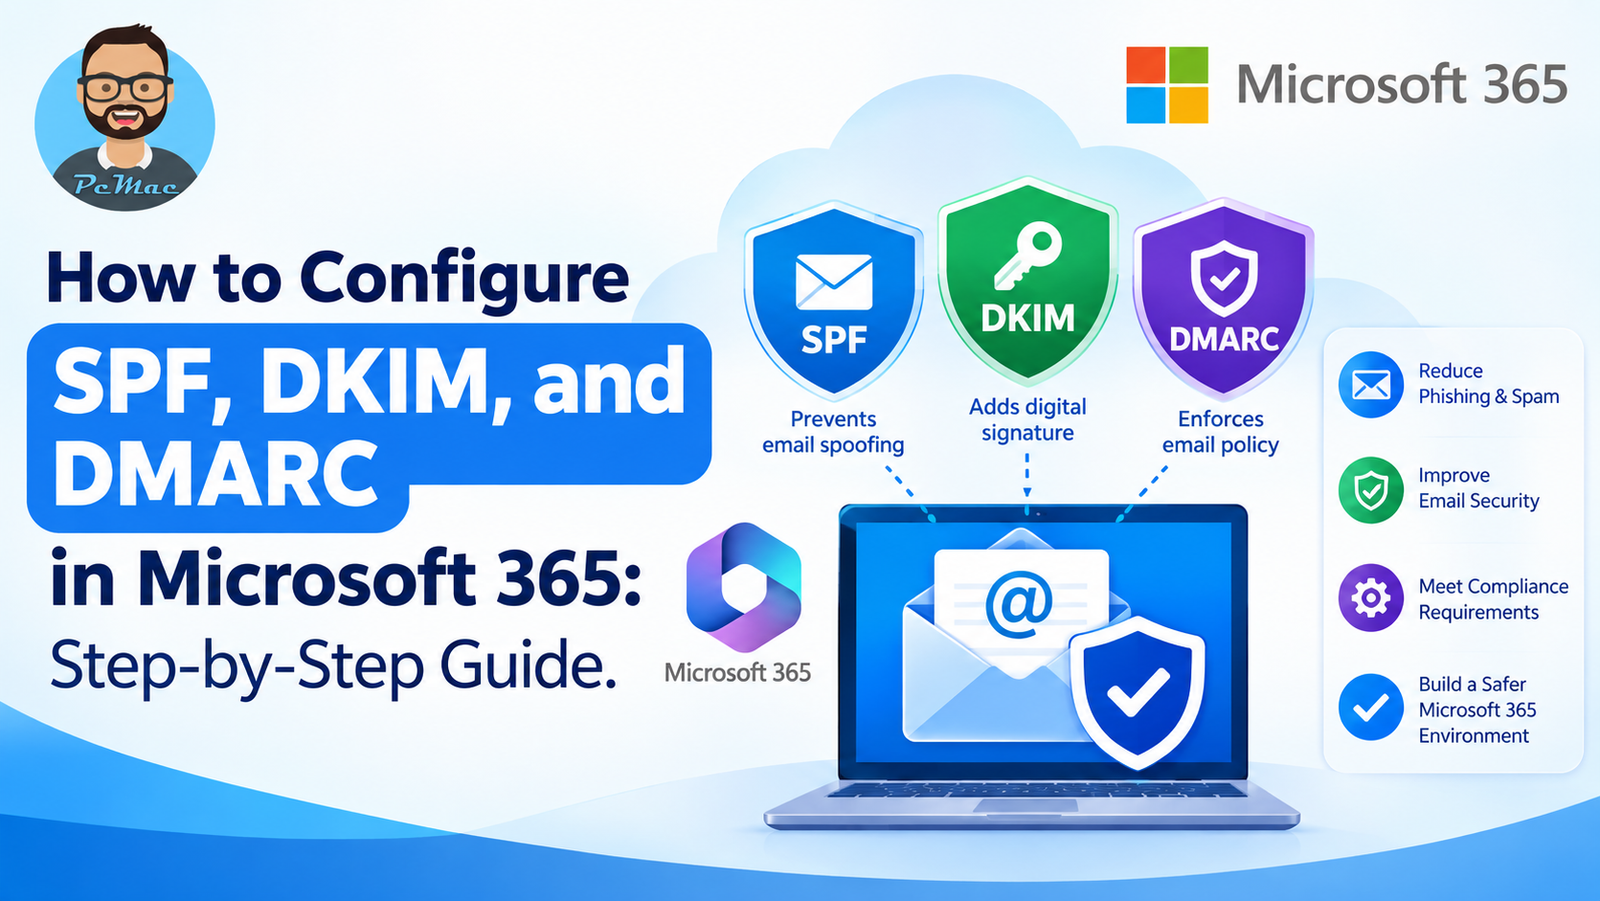
Before diving into the configuration steps, it helps to understand how these three protocols work together to form a robust email security barrier for your organization.
- SPF (Sender Policy Framework): Specifies which mail servers are authorized to send emails on behalf of your domain.
- DKIM (DomainKeys Identified Mail): Adds a cryptographic digital signature to every outgoing message, proving that the email actually originated from your domain and was not altered in transit.
- DMARC (Domain-based Message Authentication, Reporting, and Conformance): Uses both SPF and DKIM to determine the authenticity of an email message and instructs receiving servers on what to do if authentication fails (e.g., monitor, quarantine, or reject).
Step 1: Set Up and Verify Your Domain in Microsoft 365
Before you can configure authentication records, your custom domain must be fully integrated with your Microsoft 365 tenant.
- Log in to the Microsoft 365 admin center using an account with Global Admin or Exchange Admin privileges.
- In the left-hand navigation menu, go to Settings and click on Domains.
- If your domain is not yet listed, click Add domain and follow the on-screen wizard to verify ownership via a TXT record.
- Ensure your domain status shows as Setup complete and that Exchange and Exchange Online are assigned as active services.
Step 2: Configure SPF for Microsoft 365
Microsoft 365 uses a specific SPF record format. If your organization only uses Microsoft 365 for email, setting this up is straightforward. However, if you use third-party services like Salesforce, Zendesk, or Mailchimp to send emails on your behalf, you must include their mechanisms in your record.
Adding the SPF TXT Record
- Log in to your domain registrar or DNS hosting provider (such as GoDaddy, Cloudflare, or Namecheap).
- Navigate to the DNS management page for your custom domain.
- Create a new DNS record with the following settings:
- Type: TXT
- Name / Host: @ (or leave blank, depending on your registrar)
- Value / Points to:
v=spf1 include:spf.protection.outlook.com -all - TTL (Time to Live): 3600 (or default)
- Save the record. Note that the
-allmechanism at the end tells receiving servers to hard-fail any emails coming from unauthorized sources.
Step 3: Enable DKIM in Microsoft 365
Unlike SPF, which relies entirely on public DNS records you manage externally, DKIM requires you to generate keys inside the Microsoft Defender portal and then publish CNAME records to your DNS host.
Generating DKIM Keys
- Go to the Microsoft Defender portal at defender.microsoft.com.
- In the left sidebar, navigate to Email & collaboration and select Policies & rules.
- Click on Threat policies, then select Anti-spam from the dashboard (or navigate directly to DomainKeys Identified Mail (DKIM) under settings).
- Select your custom domain from the list.
- In the flyout pane that appears, toggle the switch to Enable. If DKIM keys have not been created for this domain yet, a prompt will appear asking you to create them.
- Copy the two CNAME record names and values provided on the screen. Do not close this tab yet.
Publishing DKIM CNAME Records in DNS
- Return to your domain registrar’s DNS management page.
- Create the first CNAME record using the host name and value provided by Microsoft (typically named
selector1._domainkey). - Create the second CNAME record using the second selector (typically named
selector2._domainkey). - Save both records.
- Return to the Microsoft Defender portal and click Turn on to activate DKIM for your domain. It may take a few minutes for the DNS changes to propagate.
Step 4: Implement DMARC for Your Domain
DMARC ties SPF and DKIM together and provides reports on how your domain is being used. It is best to start in “none” (monitoring) mode to avoid accidentally blocking legitimate mail, and gradually move up to stricter policies.
Creating and Publishing a DMARC Record
- Decide on an email address to receive daily XML compliance reports (e.g.,
dmarc-reports@yourdomain.com). - Go to your DNS hosting provider’s management console.
- Create a new TXT record with the following details:
- Type: TXT
- Name / Host:
_dmarc(or_dmarc.yourdomain.com) - Value / Points to:
v=DMARC1; p=none; rua=mailto:dmarc-reports@yourdomain.com; pct=100 - TTL: 3600
- Save the DNS record.
The p=none tag tells receiving servers only to monitor and report. After a few weeks of reviewing reports and verifying that all legitimate mail sources pass authentication, you can update this record to p=quarantine and eventually p=reject for maximum security.
Verifying Your Configuration
Once you have configured SPF, DKIM, and DMARC in Microsoft 365, you should test your setup to ensure everything is working correctly. Do not rely solely on sending a test email to your personal Gmail account. Instead, use reputable, free online diagnostic tools such as MXToolbox, Mail-tester.com, or the Microsoft Remote Connectivity Analyzer. These tools will inspect your DNS records, validate your cryptographic signatures, and highlight any configuration errors before they impact your business operations.
Conclusion
Securing your email infrastructure by configuring SPF, DKIM, and DMARC in Microsoft 365 is a vital step for modern digital communication. By taking the time to properly publish these DNS records, you safeguard your brand identity, protect your clients and partners from malicious spoofing attempts, and significantly improve your overall email deliverability. Monitor your DMARC reports regularly, maintain your authorized sender list, and enjoy a safer, more reliable corporate mailing environment.