Securing your organization against modern cyber threats requires more than just traditional passwords. Implementing a robust identity management strategy is crucial for protecting enterprise data, and enabling Microsoft Entra ID security features is one of the most effective ways to stop unauthorized access. By learning how to configure Azure Multi-Factor Authentication, administrators can add a critical layer of defense that thwarts credential-theft attacks and secures user sign-ins across cloud and hybrid environments.
Understanding Azure Multi-Factor Authentication
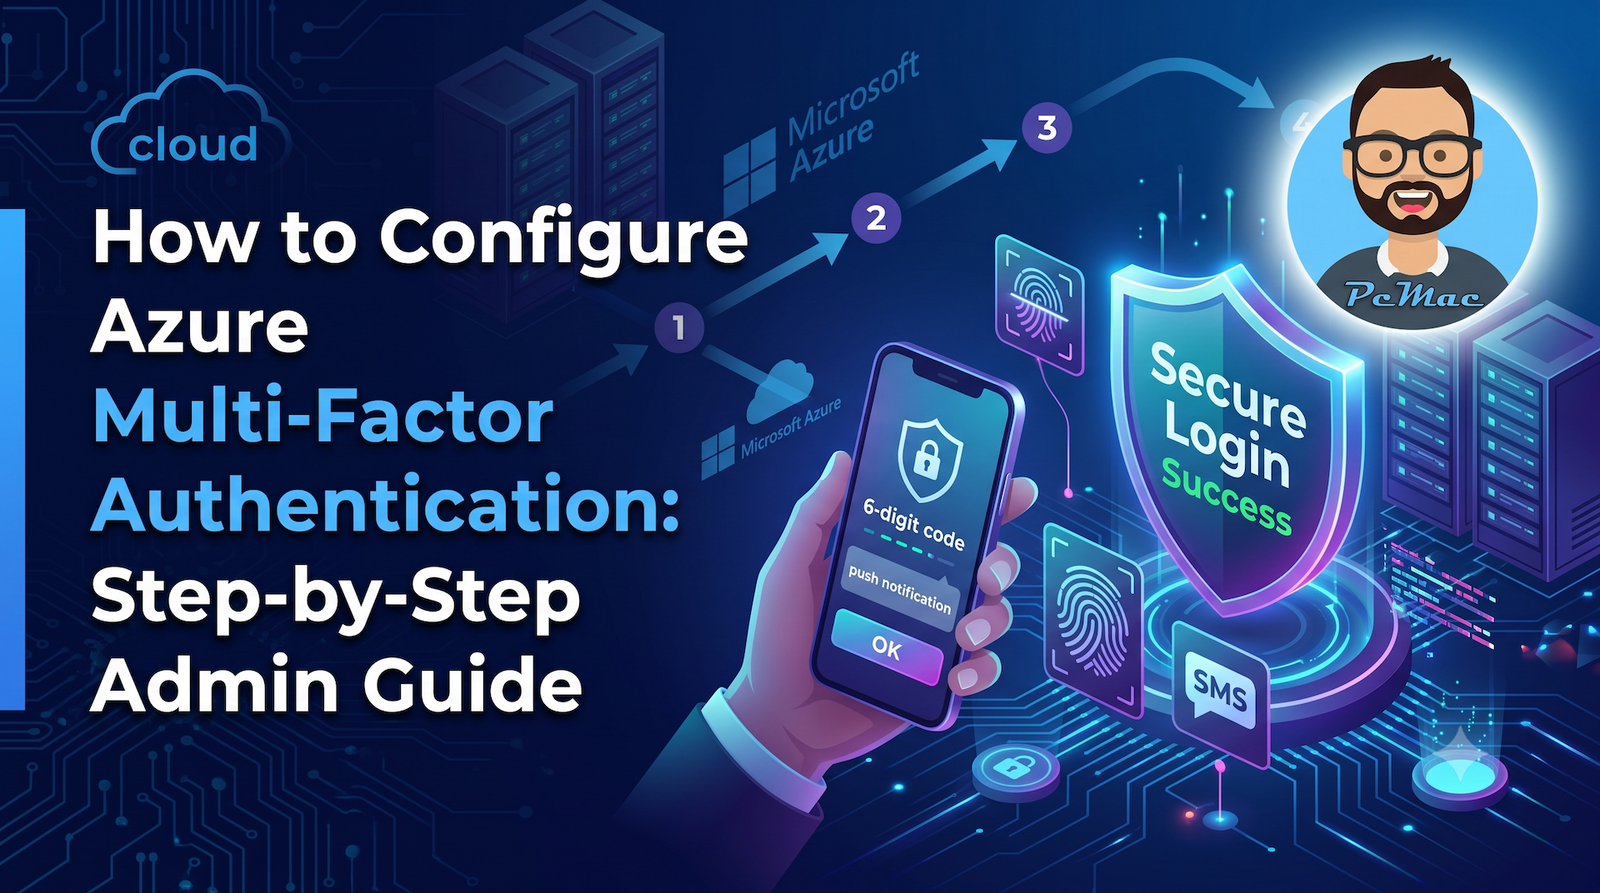
Before diving into the setup process, it helps to understand how modern identity verification works within the Microsoft ecosystem. Azure Multi-Factor Authentication, now managed through Microsoft Entra ID, prompts users to provide two or more verification forms during the login process. These verification methods typically fall into three categories: something you know (a password), something you have (a trusted device or hardware token), and something you are (biometrics).
Administrators have two primary paths for enabling this security measure:
- Security Defaults: A pre-configured baseline of security settings provided by Microsoft at no extra cost. This is ideal for small organizations looking for a quick, automated rollout.
- Conditional Access Policies: A granular, rule-based approach available with Microsoft Entra ID P1 or P2 licenses. This allows admins to enforce verification requirements based on user risk, device state, location, and specific applications.
Prerequisites for Setup
Before you begin the configuration process, ensure you have the necessary permissions and licenses in place. Setting up advanced access controls requires specific administrative rights within the tenant.
To successfully configure multi-factor authentication, make sure you meet the following requirements:
- An active Microsoft Azure subscription with a Microsoft Entra ID tenant.
- An account assigned with the Global Administrator, Security Administrator, or Conditional Access Administrator role.
- Appropriate user licenses (Microsoft Entra ID P1 or P2 if you plan to use Conditional Access Policies instead of Security Defaults).
Method 1: Enabling Azure MFA via Security Defaults
If you manage a smaller organization and want a straightforward way to protect your user base without building custom policies, Security Defaults is the fastest route. When enabled, all users are forced to register for the Microsoft Authenticator app within 14 days.
- Log in to the Microsoft Entra admin center using an administrator account.
- Navigate to the Identity overview menu.
- Click on Properties in the left-hand navigation pane.
- Scroll down to the bottom of the page and click on Manage security defaults.
- Set the Security defaults toggle to Enabled.
- Click Save to apply the changes across your tenant.
Method 2: Configuring Azure MFA Using Conditional Access Policies
For organizations requiring granular control over who must verify their identity and when, Conditional Access is the industry standard. This method allows you to target specific groups, block high-risk sign-ins, and exempt trusted corporate networks.
Step 1: Create a New Policy
- Sign in to the Microsoft Entra admin center.
- Browse to Protection and select Conditional Access.
- Click on Policies and then select New policy.
- Give your policy a descriptive name, such as Enforce MFA for All Users.
Step 2: Assign Users and Workloads
- Under the Assignments section, click on Users or workload identities.
- On the Include tab, select All users (or select specific pilot groups if you are testing).
- Optionally, use the Exclude tab to select emergency access (break-glass) accounts to prevent accidental lockout.
- Click on Cloud apps or actions, choose Select apps, and target All cloud apps to secure your entire digital workspace.
Step 3: Configure Access Controls
- Scroll down to the Access controls section and click on Grant.
- Select the checkbox for Require multi-factor authentication.
- If you have multiple requirements, choose whether to require all selected controls or just one.
- Click Select to save your grant controls.
Step 4: Enable and Roll Out the Policy
- At the bottom of the policy screen, locate the Enable policy setting.
- Initially set the toggle to Report-only to monitor how the policy behaves without disrupting users.
- Once you have verified the policy logs and confirmed everything works smoothly, switch the toggle to On.
- Click Create to activate the policy.
Best Practices for Administrators
Deploying identity verification policies requires careful planning to maintain user productivity while maximizing security. Following industry best practices prevents common administrative pitfalls.
Keep these recommendations in mind during your rollout:
- Always configure break-glass accounts: Maintain at least two cloud-only global administrator accounts that are excluded from your policies to prevent lockout scenarios if identity services experience an outage.
- Promote passwordless authentication: Encourage users to adopt the Microsoft Authenticator app with number matching or FIDO2 security keys for a faster and more secure sign-in experience.
- Communicate with your users: Inform employees ahead of time about the upcoming security changes and provide clear documentation on how to register their mobile devices.
Conclusion
Mastering how to configure Azure Multi-Factor Authentication is a foundational step in hardening your organization’s security posture against credential compromise. Whether you choose the simplicity of Security Defaults or the powerful customization of Conditional Access Policies, enforcing multi-factor verification dramatically reduces the likelihood of unauthorized account access. By following best practices, properly planning your rollout, and testing policies before full deployment, you can achieve a seamless balance between enterprise security and user accessibility.