Step 1 : Download macOS X and other Software
- First of all download all the required files from the right side of the screen.
- You need to use FDM or any other download tool be video the image size is almost 5 GB.
- Once the image successfully downloaded you need to extract the image using 7z Image Extracting Tool.
- Now, we can start the process of installing MacOS X on VirtualBox.
Step 2 : Configure VirtualBox with MacOS X
- Now, Install and open the VirtualBox. So, it will look like this on first go.
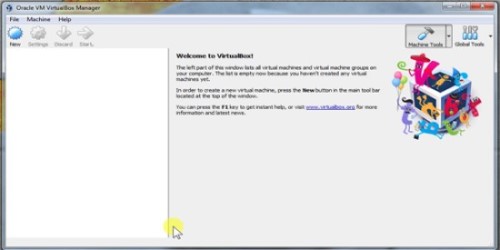
- Then, you need to click on New to create a new Virtual Machine.
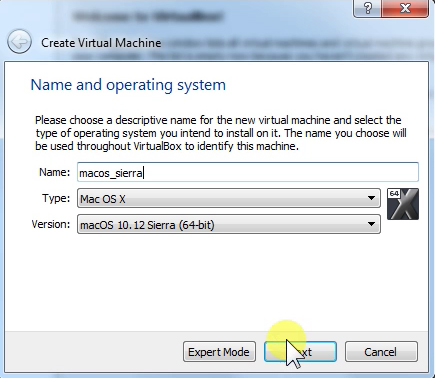
- Enter the name of your Virtual Machine and select the type as MAC OS X.
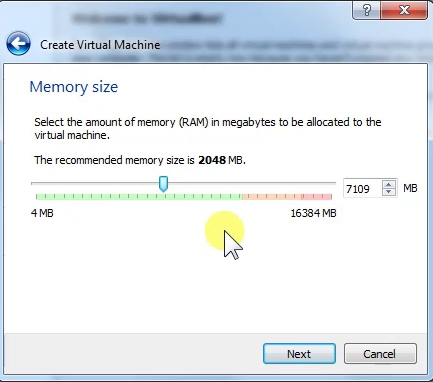
- Now, select the RAM as per Apple minimum of 2 GB ram is sufficient to run Mac OS.
- But i would recommend you to go with at least 4 GB.
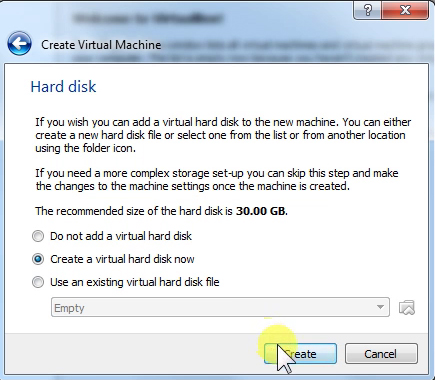
- Select, Create a Virtual Hard Disk now.
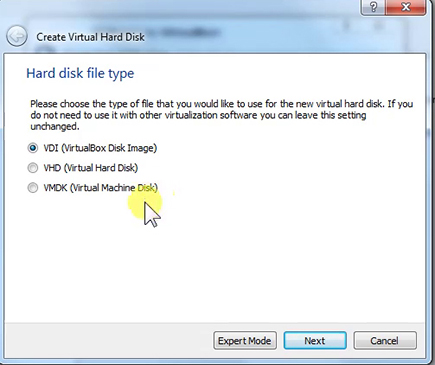
- Select, Hard Disk file type as VDI (VirtualBox Disk Image).
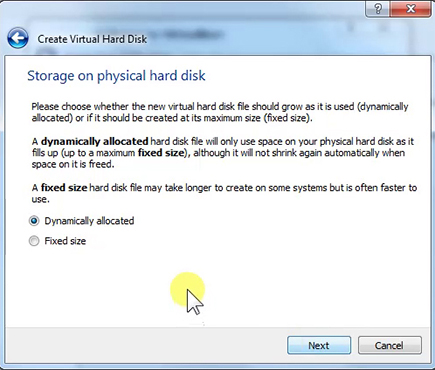
- Select, Dynamically Allocated for Storage on physical Hard Disk.
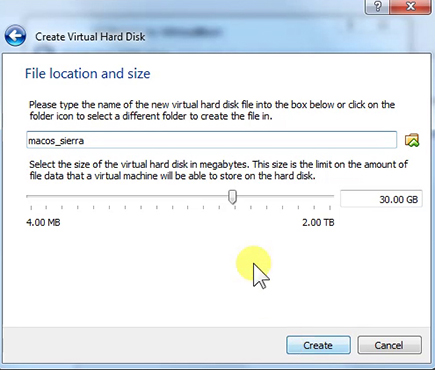
- Select, File location and Size according to your choice. After that click Create to finish the process.
Step 3 : Edit Virtual Box Settings for Mac OS X
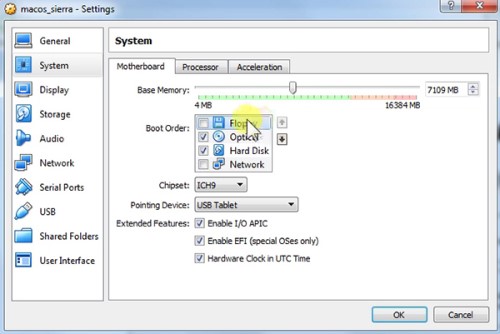
- Now, we need to edit settings of our VM. Click on settings to open the settings console.
Navigate to System–>Motherboard and unchecked Floppy.
- Navigate to System –> Processor provide maximum number of processor as your system can allowed. In my case i used 3 processor.
- Then to Display –> Screen and set Video Memory to 128 MB.
- After that to Storage and select macOSX image.
- At last to Network –> Adapter and select NAT.
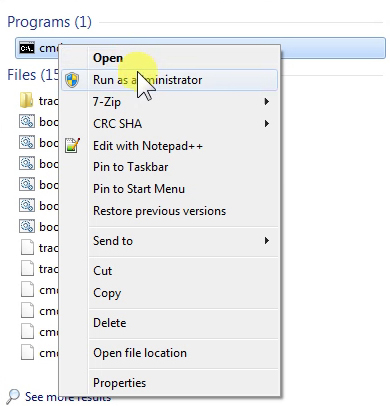
Step 4 : Add Code to VirtualBox with Command Prompt (CMD)
- Open CMD as Run as Administrator. Then navigate to the following location.
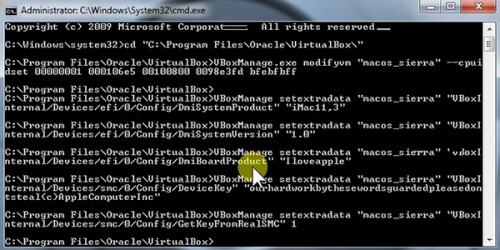
- cd “C:\Program Files\Oracle\VirtualBox\”
- After that copy these lines one by one and paste in CMD. Add your virtual machine name in place of Your VM Name.
VBoxManage.exe modifyvm "Your VM Name" --cpuidset 00000001 000106e5 00100800 0098e3fd bfebfbff
VBoxManage setextradata "Your VM Name" "VBoxInternal/Devices/efi/0/Config/DmiSystemProduct" "iMac11,3"
VBoxManage setextradata "Your VM Name" "VBoxInternal/Devices/efi/0/Config/DmiSystemVersion" "1.0"
VBoxManage setextradata "Your VM Name" "VBoxInternal/Devices/efi/0/Config/DmiBoardProduct" "Iloveapple"
VBoxManage setextradata "Your VM Name" "VBoxInternal/Devices/smc/0/Config/DeviceKey" "ourhardworkbythesewordsguardedpleasedontsteal(c)AppleComputerInc"
VBoxManage setextradata "Your VM Name" "VBoxInternal/Devices/smc/0/Config/GetKeyFromRealSMC" 1
Step 5 : Finishing Installation
- Now, once we start the virtual machine MacOS installation will begin. You will see the apple logo and a progress bar moving on the screen. You need to follow the instructions shown on the screen.

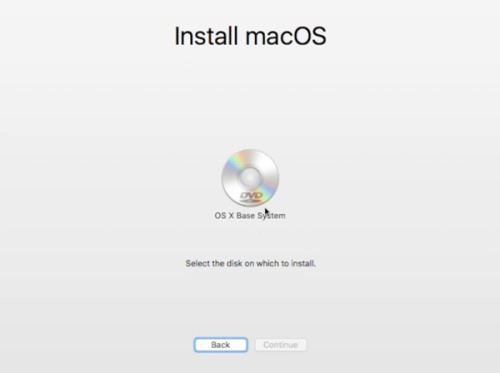
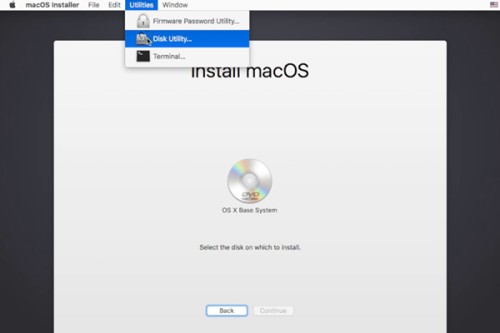
- After that setup will take us to this page where we need to select the installation disk. Since, we don’t have any disk shown here. We need to create a disk here from Disk Utility.
- Now, we need to navigate Utilities–> Disk Utility.
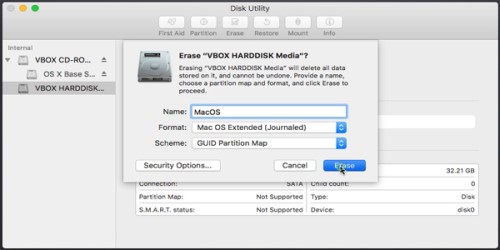
- After that we need to select our VBOX HARDDISK and Erase it. So, it can be detected by our Mac Installer.
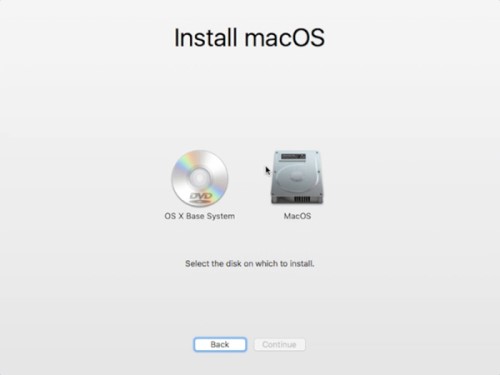
- Once this setup finish you will able to find a new disk in installer. Then we need to select the disk and click Continue to finish the setup. It will take around 16 minute to install the operating system.
- Now, the MacOS X Sierra is ready to use.
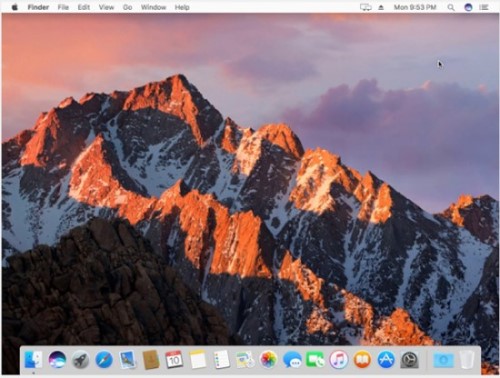
Now you are all set to use Mac OS X on Virtual Box.
Restart the Mac and start using it. Share your experience in the comment section.
Smile (“_”)