
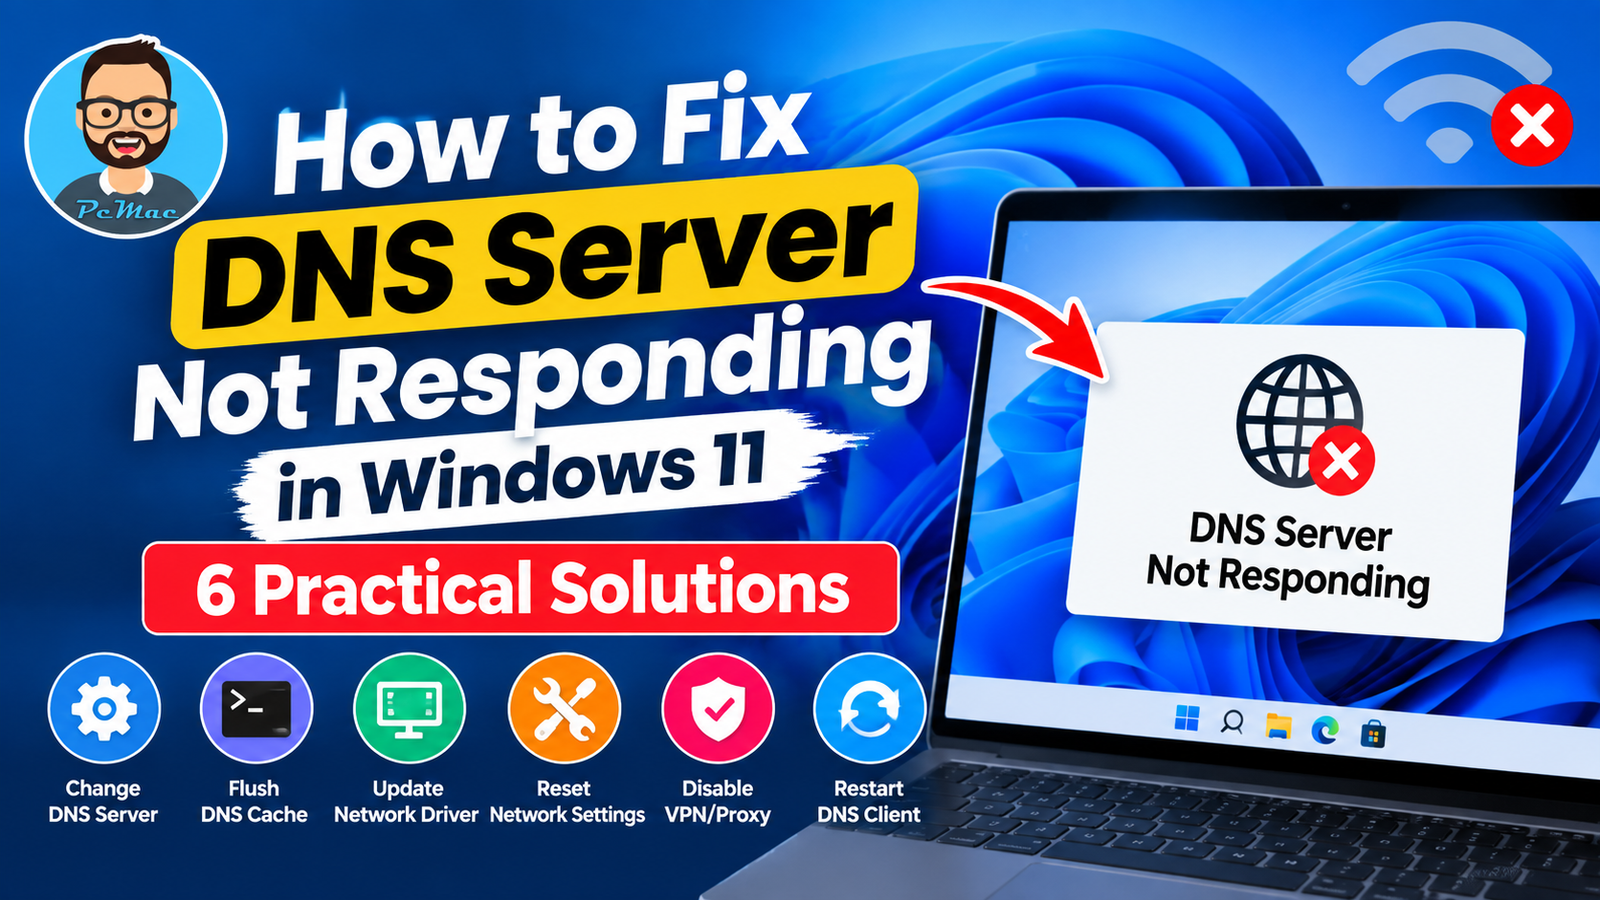
Encountering a DNS server not responding error message in Windows 11 can instantly grind your web browsing, streaming, and online gaming to a halt. When your PC cannot translate human-readable website addresses into the IP addresses required to access the internet, troubleshooting can feel overwhelming. Fortunately, this common networking issue is usually easy to resolve with a few targeted adjustments. Here are six practical solutions to fix the DNS server not responding error in Windows 11 and get you back online.
1. Restart Your Router and Modem
Before diving into complex Windows settings, start with the simplest and most effective networking fix: power cycling your networking hardware. Overheated components, temporary firmware glitches, or a stuck ISP lease can cause DNS communication to fail.
- Unplug the power cable from both your modem and your Wi-Fi router.
- Wait at least 30 seconds to allow the internal capacitors to drain completely.
- Plug the modem back in first and wait for the indicator lights to stabilize.
- Plug in your router next and wait for it to fully broadcast your network.
- Reconnect your Windows 11 PC to the network and check if the internet connection is restored.
2. Flush the DNS Cache and Reset TCP/IP
Windows 11 stores recently visited website addresses in a local cache to speed up loading times. If this cache becomes corrupted or outdated, it can trigger a DNS error. Flushing your local DNS records and resetting your networking stack clears out corrupted data.
- Click the Start menu, type cmd in the search bar.
- Right-click on Command Prompt in the results and select Run as administrator.
- Type the command
ipconfig /flushdnsand press Enter. You should see a confirmation message confirming the DNS Resolver Cache was successfully flushed. - Next, reset your IP configuration by typing
ipconfig /renewand pressing Enter. - Reset your Winsock catalog by typing
netsh winsock resetand pressing Enter. - Restart your computer to apply the changes fully.
3. Change Your DNS Server Address
By default, your computer uses the Domain Name System (DNS) servers provided by your Internet Service Provider (ISP). These servers frequently experience outages or slowdowns. Switching to a reliable, public DNS provider like Google or Cloudflare often permanently fixes the DNS server not responding issue.
- Press Windows Key + I to open the Settings app.
- Navigate to Network & internet on the left sidebar, then click on Wi-Fi or Ethernet depending on your connection type.
- Click on the name of your active network connection.
- Look for DNS server assignment and click the Edit button next to it.
- Change the dropdown setting from Automatic (DHCP) to Manual.
- Toggle IPv4 to the On position.
- In the Preferred DNS box, enter a public DNS address. For Google, enter 8.8.8.8 (and 8.8.4.4 for the Alternate DNS). For Cloudflare, enter 1.1.1.1 (and 1.0.0.1 for the Alternate DNS).
- Click Save and test your browser.
4. Temporarily Disable Your Antivirus and VPN
Third-party security software, firewalls, and virtual private networks (VPNs) heavily intercept and filter your network traffic. Sometimes, an aggressive firewall rule or a malfunctioning VPN tunnel can mistakenly block DNS requests, resulting in connection errors.
- Check your VPN: Disconnect your active VPN connection and switch servers if necessary. Many VPN protocols interfere with default local DNS routing.
- Check third-party antivirus: If you use a third-party antivirus suite with a built-in web shield or firewall, temporarily disable its network protection features.
- Test default security: Check if your web pages load normally. If they do, reconfigure your security software’s firewall exceptions rather than leaving your PC unprotected.
5. Update Your Network Adapter Drivers
Outdated, corrupted, or incompatible network drivers can cause your hardware to miscommunicate with your operating system and your router. Updating your network adapter ensures stable network performance.
- Right-click the Start button and select Device Manager.
- Expand the category labeled Network adapters.
- Right-click your primary network adapter (such as Intel Wireless, Realtek PCIe Family Controller, etc.) and select Update driver.
- Choose Search automatically for drivers and let Windows find and install the latest software.
- If Windows says your drivers are up to date, visit your laptop or motherboard manufacturer’s website to download the latest certified Windows 11 driver package.
6. Use the Windows Network Troubleshooter
Windows 11 includes built-in diagnostic tools designed to automatically identify and repair common configuration errors. While it may not solve advanced routing problems, the troubleshooter is great for catching misconfigured local adapters.
- Open Settings by pressing Windows Key + I.
- Go to System and then select Troubleshoot on the right pane.
- Click on Other troubleshooters.
- Locate Internet Connections or Network Adapter in the list.
- Click the Run button next to the troubleshooter and follow any on-screen instructions.
Conclusion
Dealing with a DNS server not responding error in Windows 11 can be frustrating, but it is rarely a permanent problem. By systematically working through these solutions—starting with a simple router reboot, flushing your DNS cache, and switching to a reliable third-party DNS provider like Cloudflare or Google—you can restore your internet connection quickly. If the problem persists after trying all these steps, contact your ISP to ensure there isn’t a wider regional outage in your area.


