In this tutorial, we are going to show you “how to install AdGuard on Raspberry Pi for all models”
AdGuard Official Website Visit Here
Software Required :
| Equipment Required | Optional | ||
| Raspberry Pi 4 | Case | ||
| SD Card | External HDD | ||
| Ethernet Cable | |||
| Power Adapter | |||
| Raspberry Pi Keyboard | |||
| Mouse | |||
| Shop now | |||
Raspberry Pi 4 Kit’s
Raspberry Pi OS Installation :
- Download the Raspberry Pi OS Image from the above Link
- Format the SD Card using an SD Card Formatter
- Then write the image to the SD Card using: Etcher

- Once the setup is completed we need to update, upgrade, and full-upgrade our Raspberry Pi using the terminal.
sudo apt update
sudo apt upgrade
sudo apt full-upgrade
- After the update and upgrade are complete, we can download the AdGaurd from the below command.
wget https://static.adguard.com/adguardhome/release/AdGuardHome_linux_arm.tar.gz
- Now, we can extract the AdGuard setup using the below command.
tar xvf AdGuardHome_linux_arm.tar.gz
- As the file is already downloaded and extracted then we can delete the old file using the below-mentioned command.
rm AdGuardHome_linux_arm.tar.gz
- Now we can move to the extracted folder.
cd AdGuardHome
- We can go ahead and install the AdGuard Home on our Pi.
sudo ./AdGuardHome -s install
- To know the IP address of your Pi you can use the command.
hostname -I
- Once the setup is complete we can access our AdGuard server from the below command.
http://[YOUR IP ADDRESS]:3000
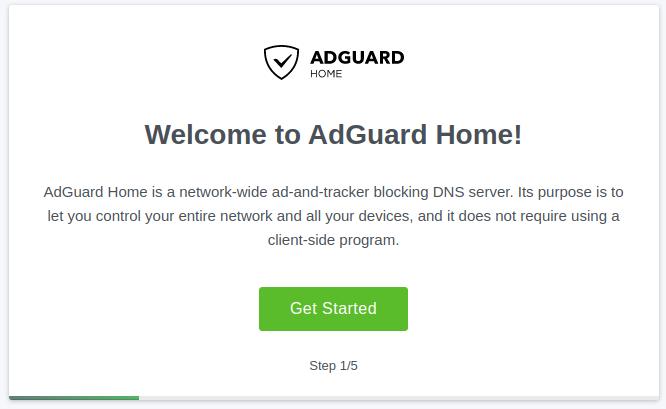
- Let’s start the setup of our AdGuard server now. We need to click on Get Started to start the setup.
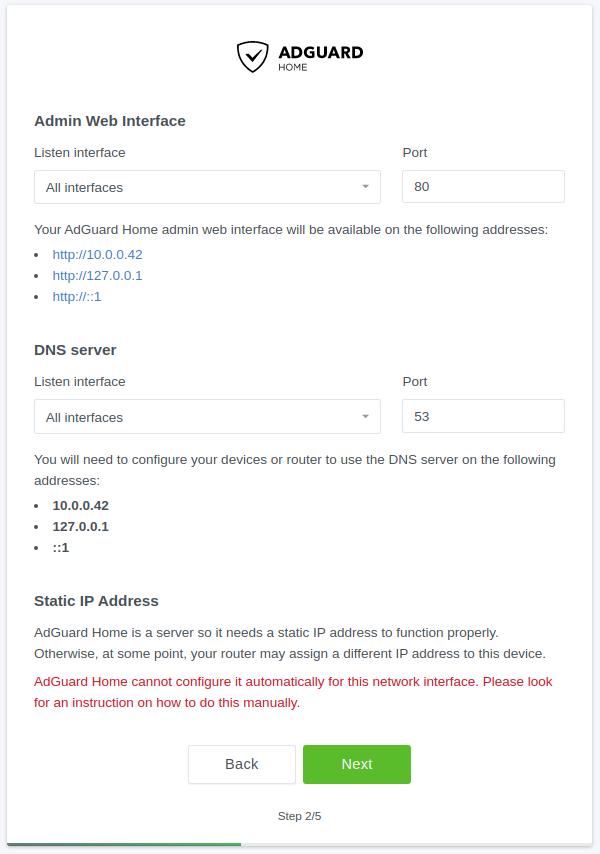
- You can leave the settings as it is and move forward with the setup.
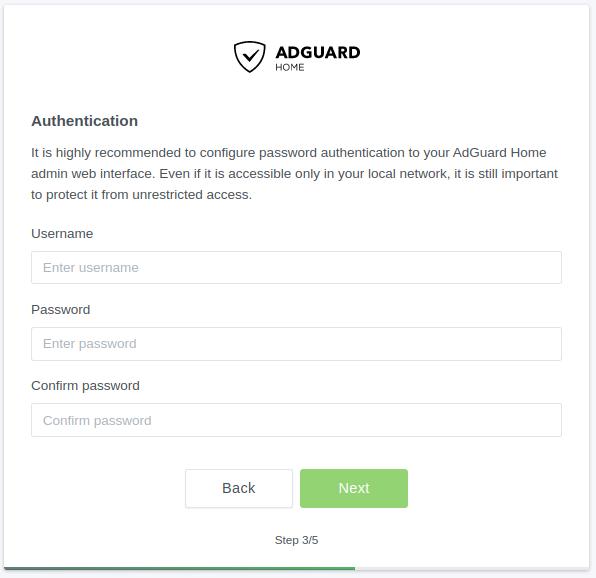
- In this step, you need to create your own username and password to login into the server.
- After the login ID is created you can set up your device as mentioned below. But we recommend you configure it on the router so it can block ads throughout your network.

- Now you are all set to use the network-wide adblocker in your network click on open Dashboard to finish the setup.
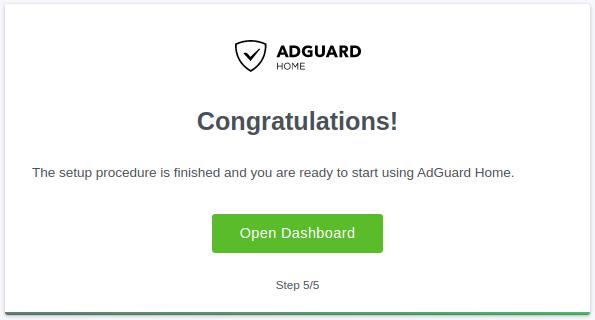
- You can use your ID and password to log into the server that was created earlier in the setup.

Updating AdGuard IP Address to Router DNS
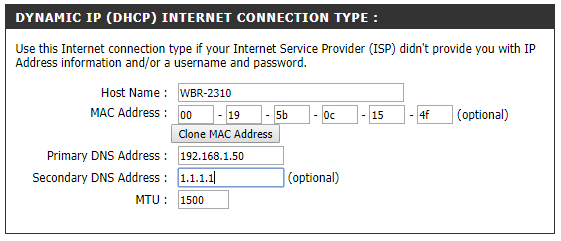
- At this moment we need to log in to our Router, and then Navigate to DNS Settings.
- After that, we need to enter the AdGuard IP Address into our Router’s Primary DNS Address.
- Finally, all the traffic will route through the Raspberry Pi and Block ads with AdGuard.
Primary DNS Address: "AdGuard IP Address"
Secondary DNS Address: "Cloudflare DNS Address i.e 1.1.1.1" or "Google DNS Address i.e 8.8.8.8"
In conclusion
- Above all steps will convert your Raspberry Pi into a Network Wide Ad-Block Server.
- If you face any issues regarding this article please share your thoughts.
- Smile (.”_”.)
Please check out my other articles:
Did you find us helpful?Support us on Patreon, Follow us on Facebook |

